Halloween is the perfect time to get creative and transform your home into a fun, spooky, and welcoming space. You don’t need to spend a fortune on store-bought decorations—many impressive Halloween decorations can be made using simple craft supplies, recycled materials, pumpkins, paper, candles, and things you may already have at home.
Whether you’re decorating your front porch, living room, dining table, or kids’ party area, these easy DIY Halloween decorations are simple enough for beginners and fun for the whole family. From spooky ghosts and creepy spiders to glowing pumpkins and haunted-house accents, these projects can help create a festive Halloween atmosphere without a complicated crafting process.
Also Read: 25 Group Costume Ideas That Will Make Your Halloween Unforgettable
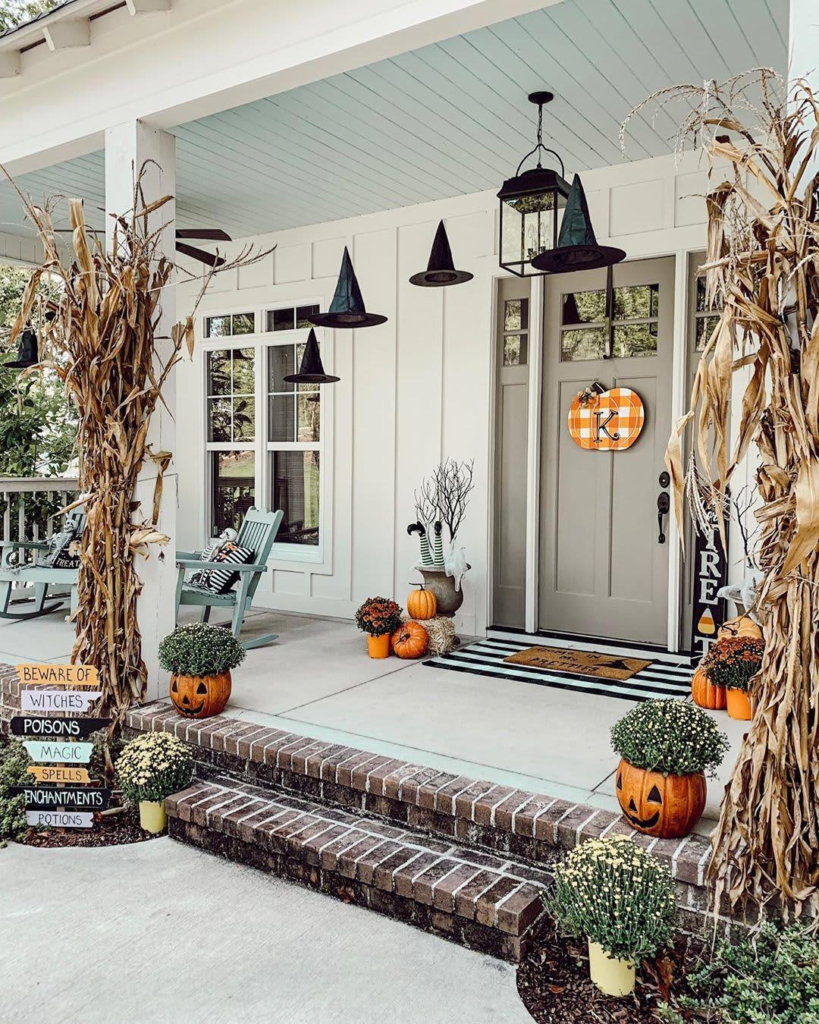
Why Make Your Own Halloween Decorations?
DIY Halloween decorations have several advantages. They allow you to personalize your home, involve children in creative activities, and often cost much less than buying decorations individually.
You can also reuse everyday household materials such as cardboard boxes, glass jars, paper bags, old fabric, empty bottles, and cardboard tubes. With a little imagination, ordinary objects can become ghosts, bats, spiders, tombstones, or spooky lanterns.
Easy DIY Halloween Decoration Ideas
1. Floating Ghost Decorations
Floating ghosts are one of the easiest Halloween crafts and look especially fun when several are displayed together.
Materials:
- White cheesecloth or lightweight white fabric
- Small balloons
- String
- Black marker or black paper
- Tape
Steps:
- Inflate a small balloon to create the ghost’s head.
- Cover the balloon with white fabric or cheesecloth.
- Secure the fabric underneath the balloon.
- Add simple eyes and a mouth using black paper or a marker.
- Attach string to the top.
- Hang the ghosts from the ceiling, porch, doorway, or tree branches.
Decoration Tip: Use different sizes to create a little family of floating ghosts.
2. Spooky Mason Jar Lanterns
Turn ordinary glass jars into glowing Halloween lanterns with just a few inexpensive supplies.
Materials:
- Clean glass jars
- Orange, white, or black paint
- Paintbrush
- Battery-operated tea lights
- Black marker
Steps:
- Clean and dry the jars completely.
- Paint simple Halloween designs such as pumpkins, ghosts, or spiders.
- Allow the paint to dry.
- Add spooky facial expressions with a black marker.
- Place a battery-operated tea light inside.
- Arrange the jars on a table, shelf, or porch.
Safety Tip: Battery-operated lights are preferable to real flames, especially around children.
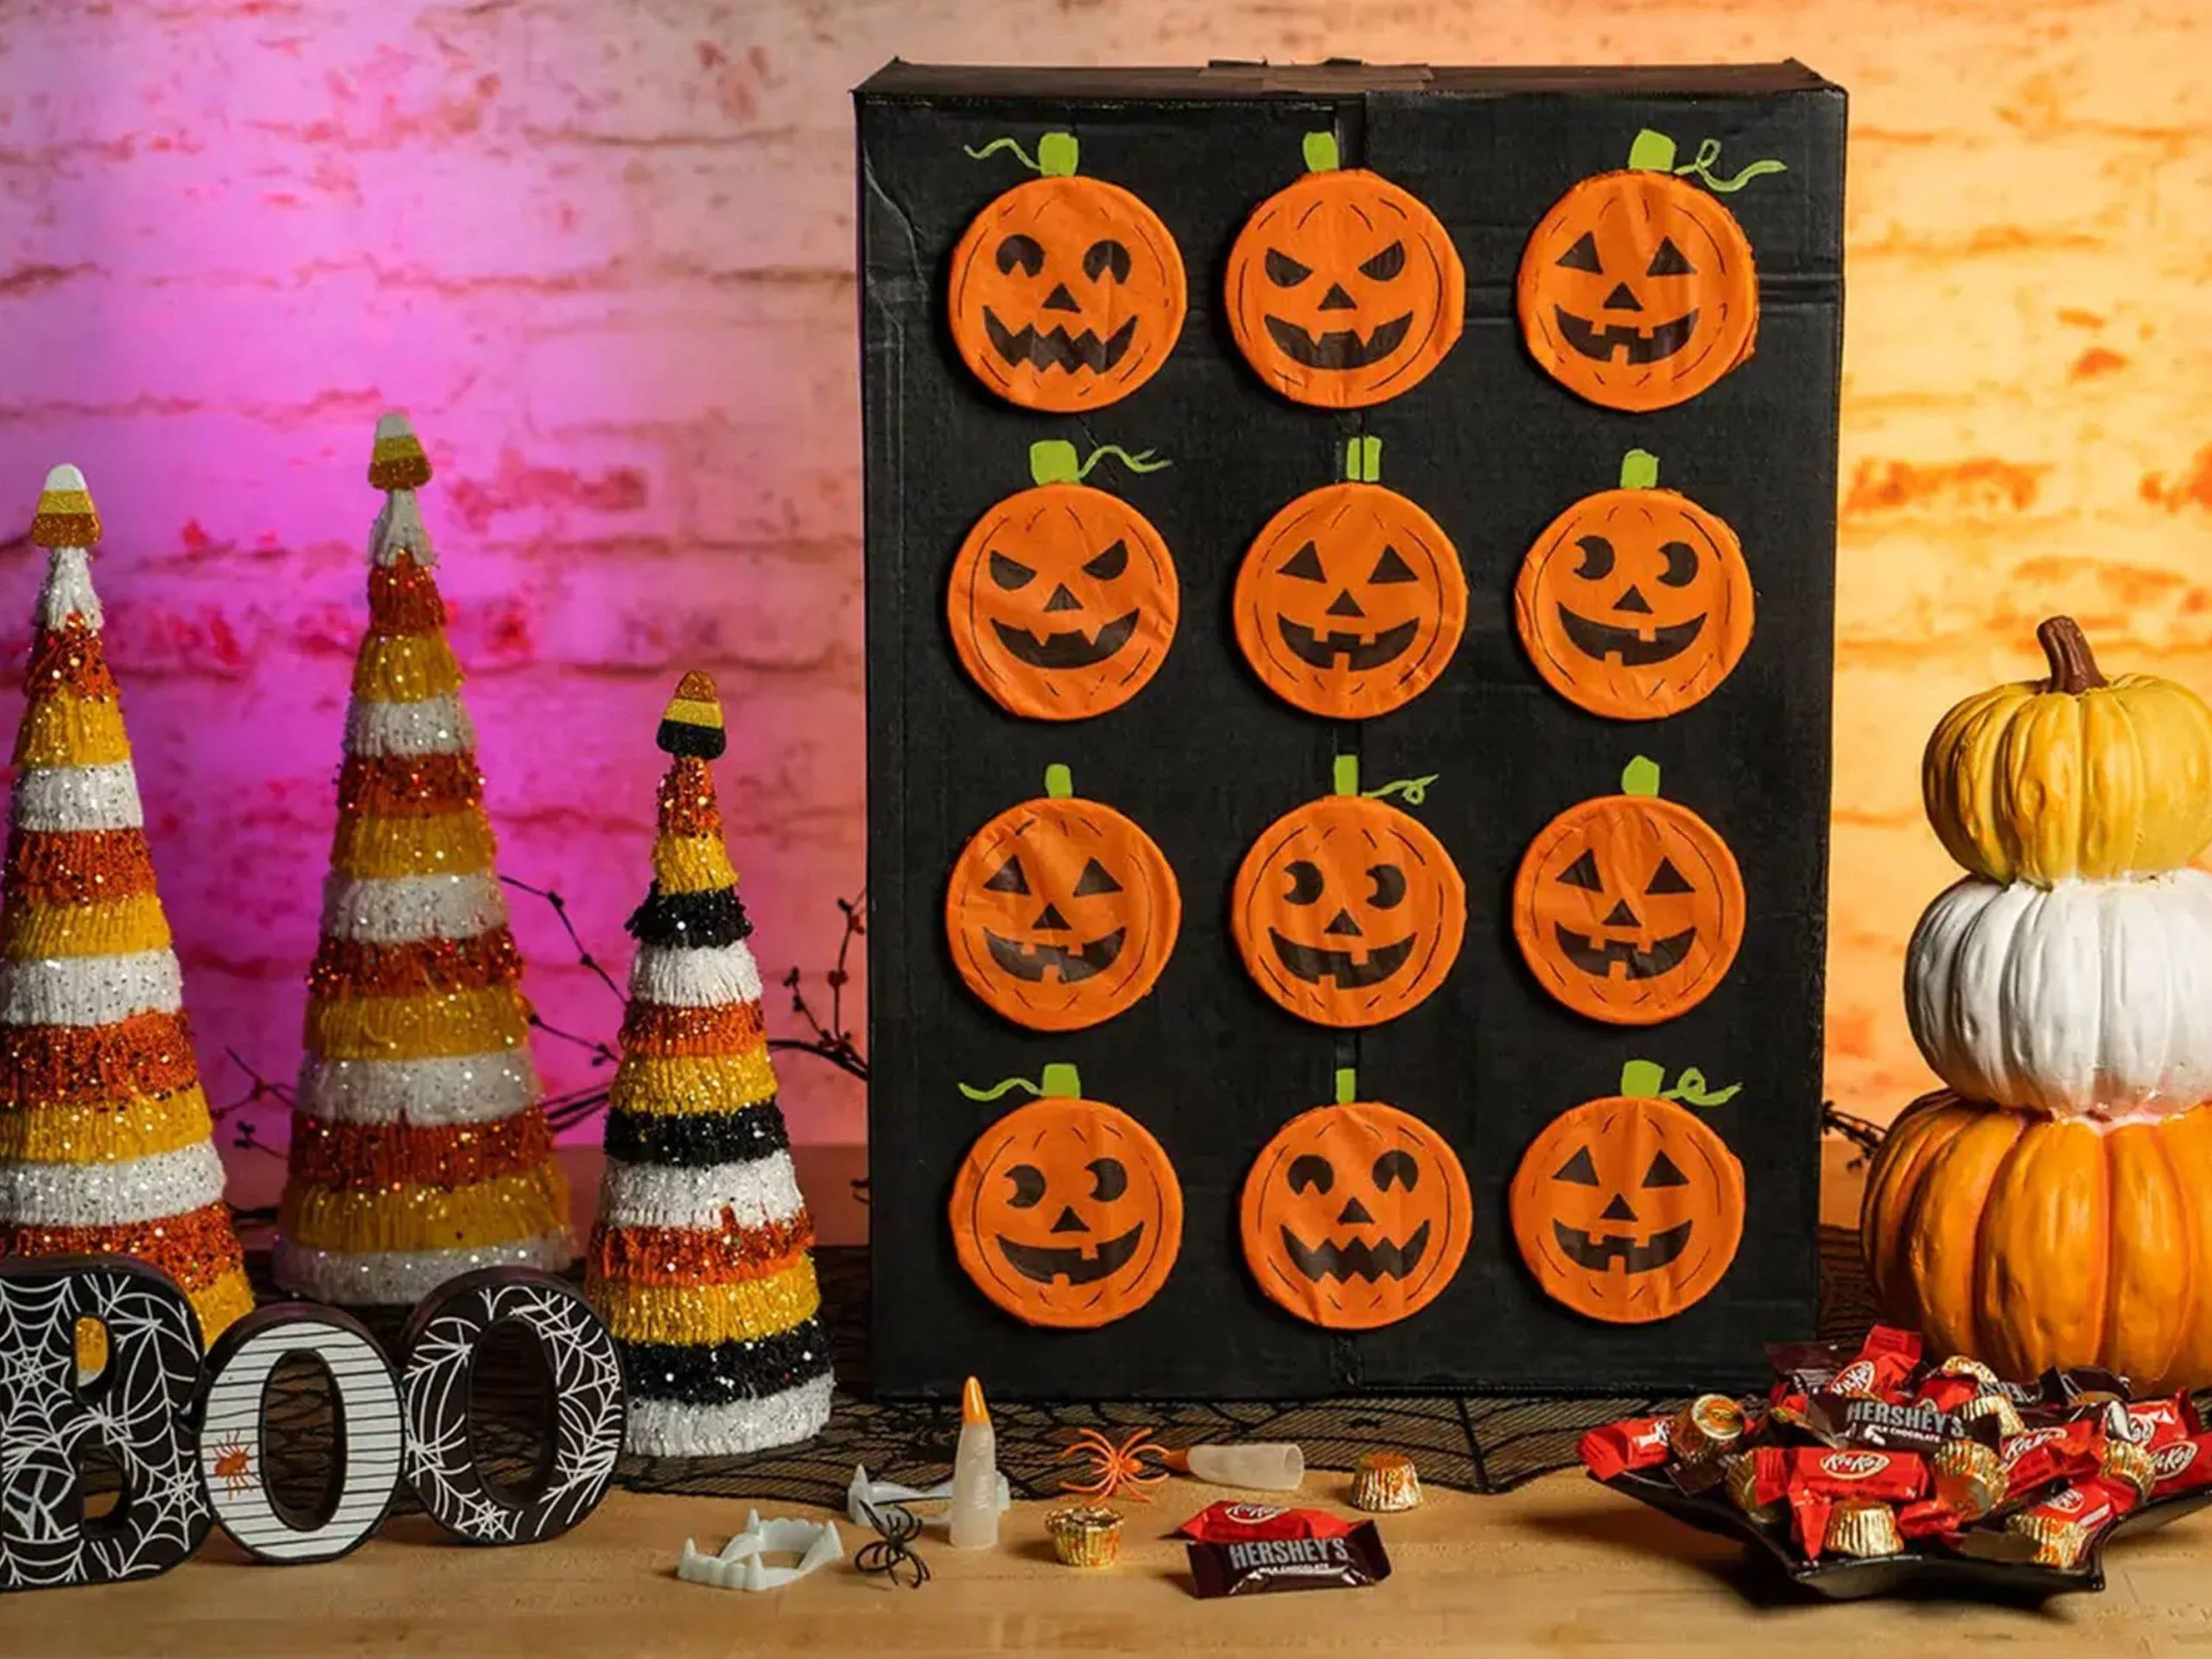
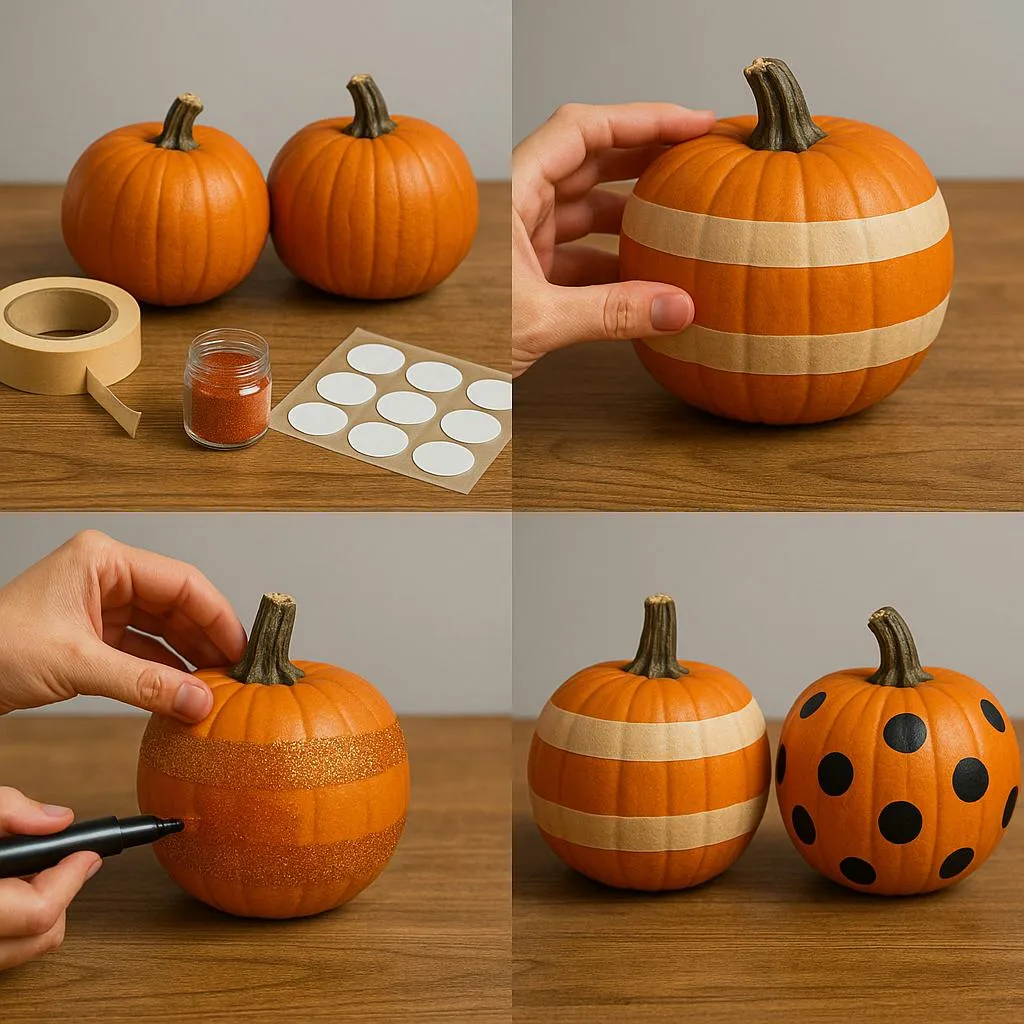
3. DIY Halloween Pumpkin Faces
Pumpkins are a Halloween classic, but you don’t always need complicated carving tools.
Materials:
- Small pumpkins
- Acrylic paint
- Paintbrushes
- Black marker
- Optional stickers or craft accessories
Steps:
- Clean the pumpkins and let them dry.
- Decide on a face or character.
- Paint eyes, mouths, and other features.
- Add polka dots, stripes, stars, or spooky patterns.
- Allow the paint to dry completely.
- Arrange several decorated pumpkins together.
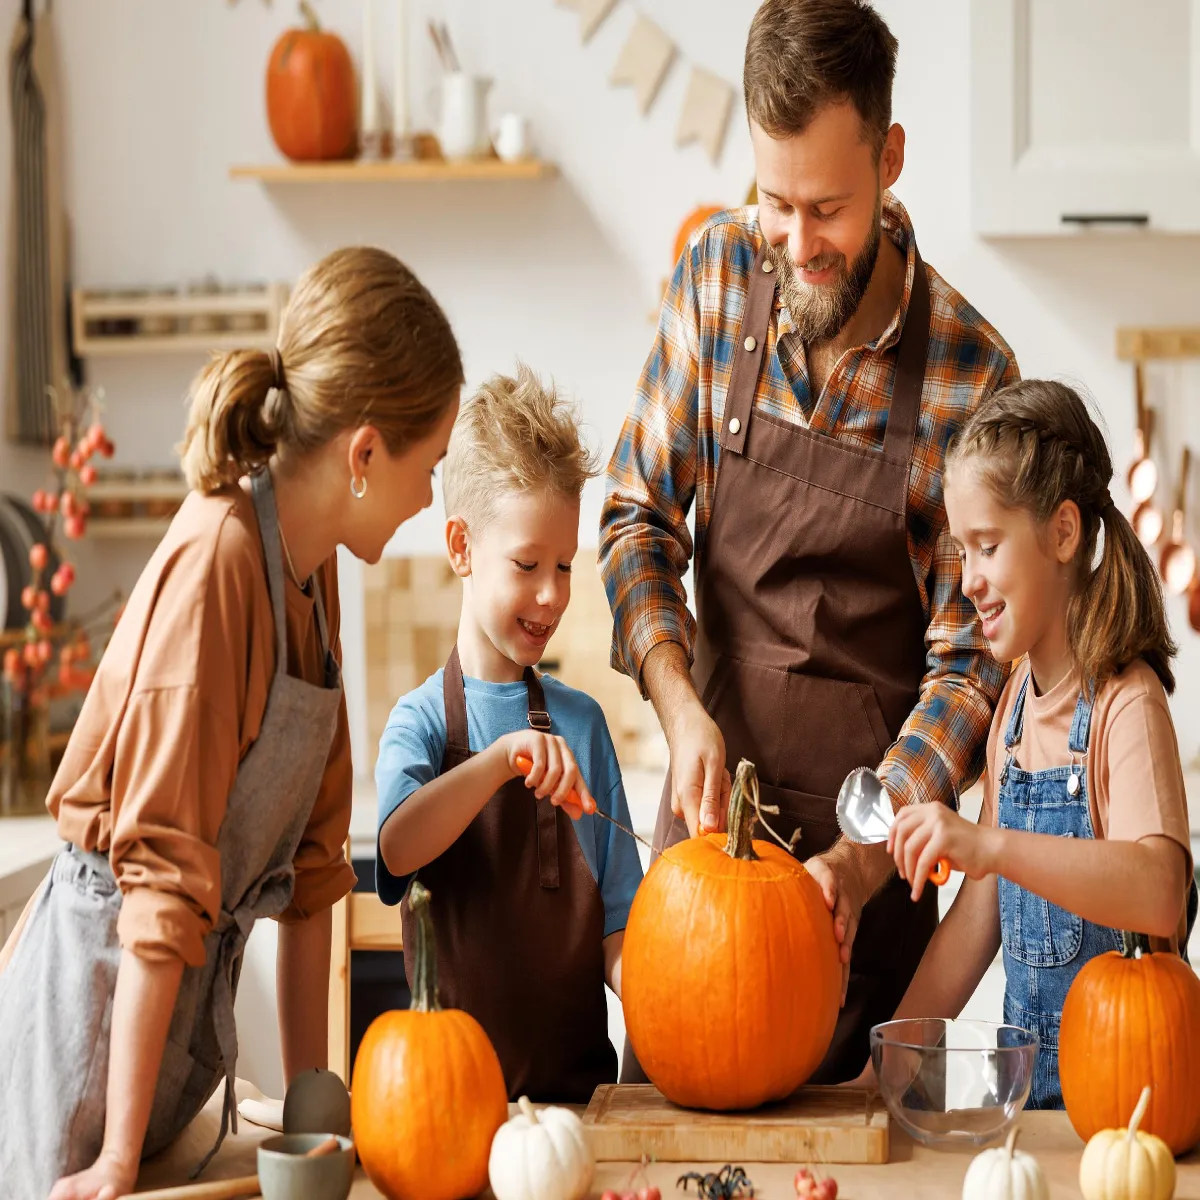
For younger children, painted pumpkins can be easier and safer than traditional pumpkin carving.
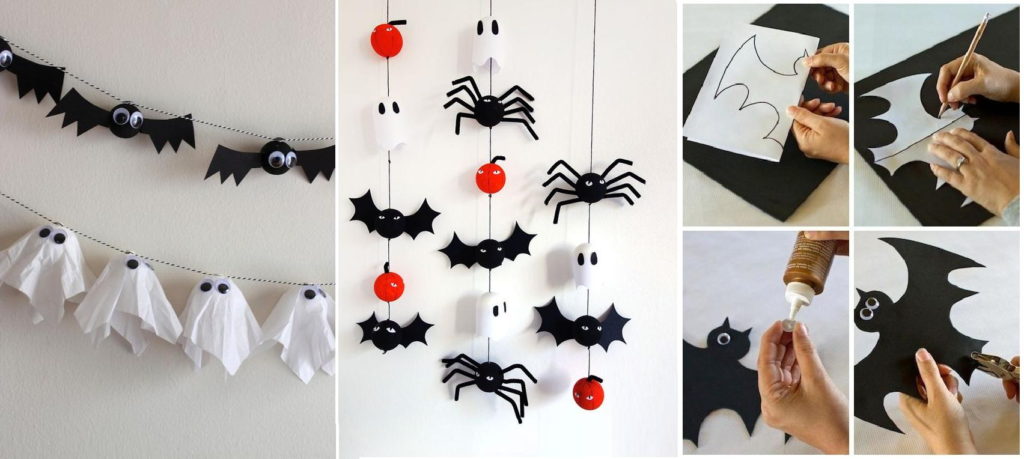
4. Paper Bat Wall
Create an entire colony of bats using black construction paper.
Materials:
- Black construction paper
- Scissors
- Pencil
- Removable adhesive tape
Steps:
- Draw a simple bat silhouette on paper.
- Cut out the first bat.
- Use it as a template to create multiple bats.
- Make bats in different sizes.
- Arrange them flying upward across a wall.
- Attach them with removable tape.
Creative Idea: Start with smaller bats near the floor and gradually make them larger as they “fly” toward the ceiling.
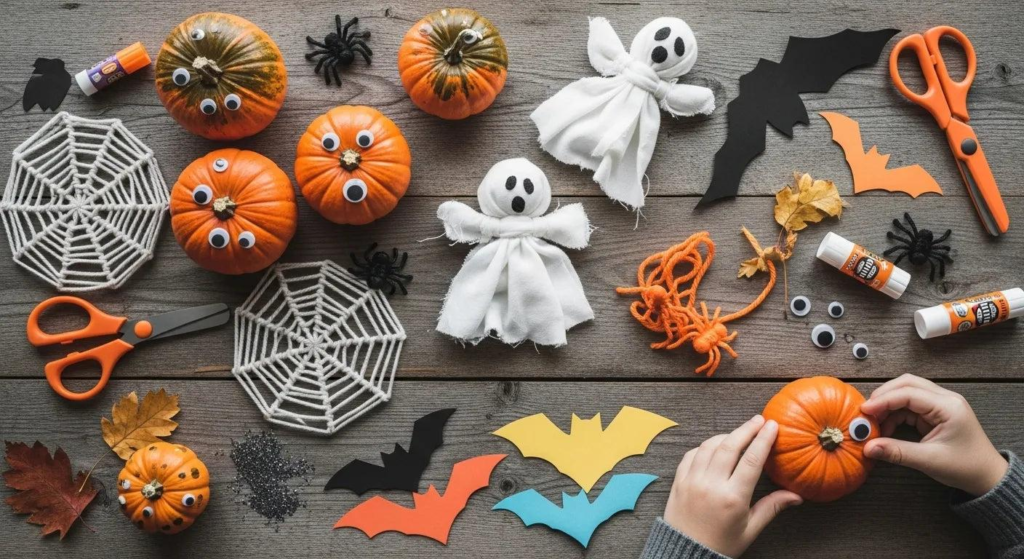
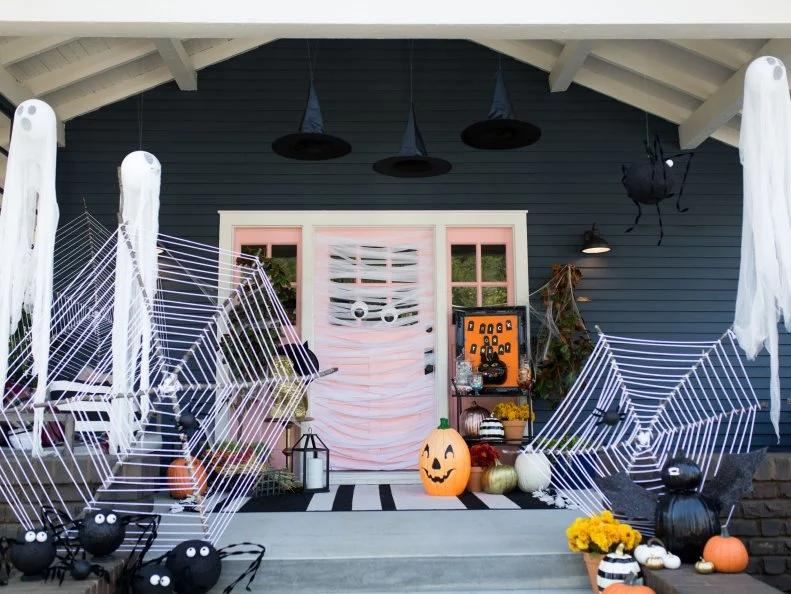
5. DIY Halloween Spider Web
A homemade spider web can instantly make a doorway, window, or corner look spooky.
Materials:
- White yarn or string
- Tape
- Plastic spiders or homemade paper spiders
Steps:
- Create a few long vertical pieces of yarn.
- Secure them to the wall or doorway.
- Add diagonal pieces to create the web pattern.
- Connect the strands with smaller pieces of yarn.
- Place toy spiders around the web.
- Add one large spider in the center.
This decoration works particularly well around doors, windows, bookshelves, and entryways.
6. Cardboard Halloween Tombstones
Turn old cardboard boxes into lightweight haunted-house tombstones.
Materials:
- Cardboard
- Gray or black paint
- Paintbrush
- Scissors
- Black marker
Steps:
- Cut cardboard into tombstone shapes.
- Paint the cardboard gray or another stone-like color.
- Let it dry.
- Add cracks and weathered details.
- Write spooky or humorous messages.
- Place the tombstones around your porch or garden.
Keep the wording family-friendly if children will be helping with the project.
7. Halloween Window Silhouettes
Create spooky silhouettes that look dramatic when viewed from outside.
Materials:
- Black construction paper
- Scissors
- Tape
- White or warm indoor lighting
Steps:
- Draw Halloween shapes such as cats, bats, witches’ hats, pumpkins, or ghosts.
- Carefully cut out the shapes.
- Attach them to the inside of windows.
- Turn on lights inside the room.
- View the decorations from outside after dark.
This is an inexpensive way to create a surprisingly dramatic Halloween display.
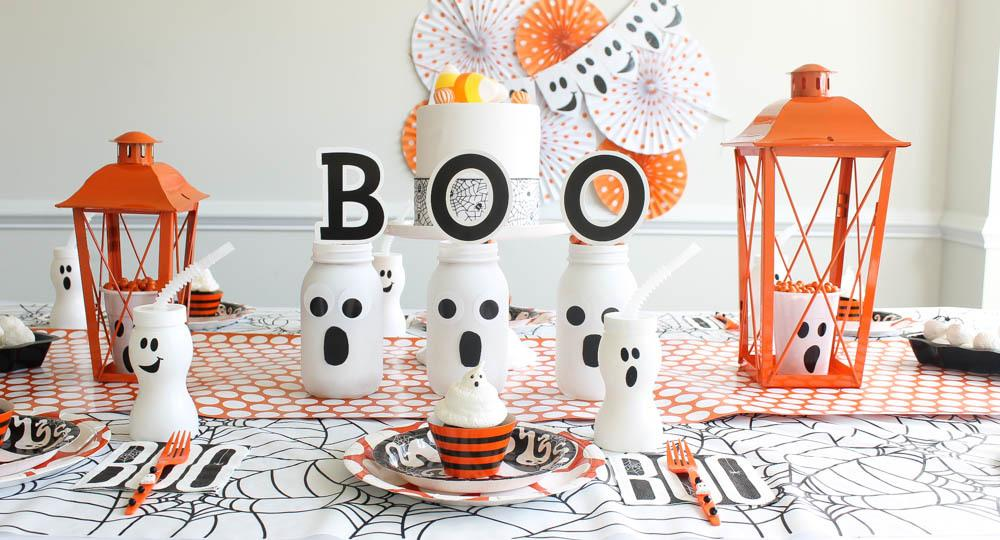
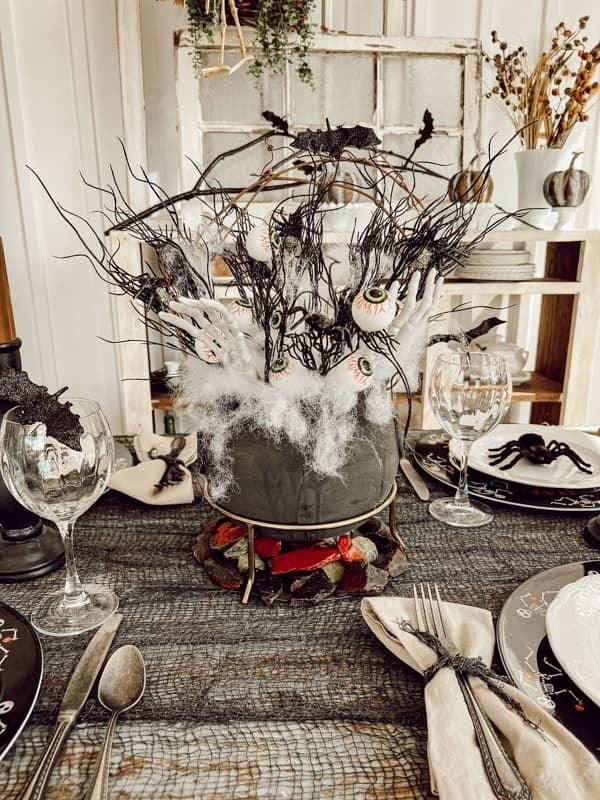
8. Pumpkin-Themed Halloween Table Centerpiece
Create a simple centerpiece for your Halloween dinner or party table.
Materials:
- Small pumpkins
- Autumn leaves
- Pinecones
- Battery-operated candles
- Small decorative spiders or bats
Steps:
- Place a tray or wooden board in the center of the table.
- Arrange several small pumpkins.
- Add autumn leaves and pinecones.
- Place battery-operated candles between the decorations.
- Add a few small Halloween accents.
- Keep the centerpiece low enough that guests can see across the table.
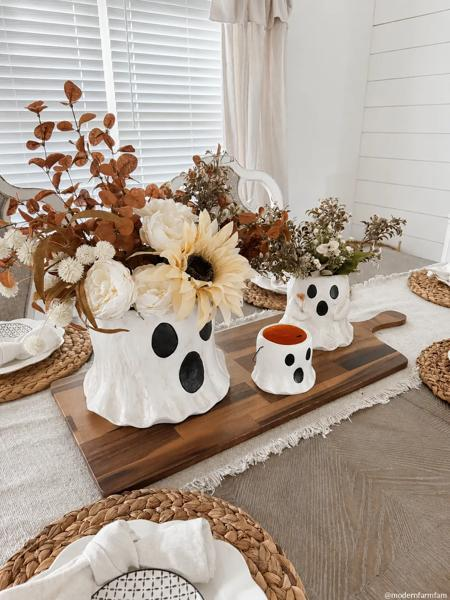
For a more elegant look, combine orange pumpkins with neutral-colored decorations and warm lighting.
Step-by-Step Halloween Decorating Plan
Instead of decorating everything at once, use this simple plan.
Step 1: Choose Your Halloween Theme
Decide whether you want your decorations to look:
- Cute and family-friendly
- Spooky and mysterious
- Elegant and autumn-inspired
- Funny and playful
- Haunted-house themed
Choosing a theme first makes it easier to select matching decorations.
Step 2: Pick Your Decorating Areas
Focus on a few important spaces instead of decorating every corner.
Good areas include:
- Front door
- Front porch
- Living room
- Windows
- Dining table
- Kids’ activity area
- Entryway
Step 3: Gather Reusable Materials
Before buying craft supplies, look around your home for reusable materials.
You may already have:
- Cardboard
- Glass jars
- Paper
- Old fabric
- String
- Paint
- Empty boxes
- Paper bags
- Wooden trays
Step 4: Make Your Decorations
Start with the easiest projects first, such as paper bats, painted pumpkins, and mason jar lanterns.
Then move on to larger projects such as spider webs and cardboard tombstones.
Step 5: Add Lighting
Lighting can completely change the Halloween atmosphere.
Use:
- Battery-operated candles
- String lights
- Orange-toned lights
- LED lanterns
- Small illuminated pumpkins
Avoid placing open flames near fabric, paper, or other flammable decorations.
Step 6: Arrange Everything Together
Don’t overcrowd your space. Create small decorative groups instead.
For example, combine:
Pumpkins + leaves + lanterns + spider webs
or
Ghosts + bats + lights + autumn decorations
This creates a more coordinated look.
How to Make DIY Halloween Decorating a Family Activity
Halloween decorating can become a fun family tradition.
Give children age-appropriate jobs such as:
- Painting pumpkins
- Drawing bats
- Decorating jars
- Cutting simple paper shapes with supervision
- Arranging leaves
- Choosing where decorations should go
Adults can handle scissors, ladders, electrical items, and any tools that require extra care.
The goal isn’t to create perfect decorations. The goal is to enjoy the creative process together.
Budget-Friendly Halloween Decorating Tips
You don’t need an expensive Halloween shopping list.
Try these ideas:
Reuse old materials: Cardboard, jars, fabric, and paper can become excellent decorations.
Use nature: Fallen leaves, pinecones, twigs, and small pumpkins create beautiful autumn displays.
Make decorations in batches: If you’re making paper bats, create 20–30 at once.
Choose versatile decorations: Neutral pumpkins and autumn leaves can work throughout the fall season.
Use LED lighting: Battery-powered lights can be reused for other celebrations.
Halloween Safety Tips
Keep decorations fun while making safety a priority.
- Keep candles away from paper and fabric.
- Prefer LED candles around children and pets.
- Don’t block stairways or exits.
- Secure hanging decorations properly.
- Avoid loose electrical cords in walking areas.
- Keep small craft pieces away from very young children.
- Use outdoor decorations that are suitable for weather conditions.
- Supervise children when using scissors or other craft tools.
Conclusion
Creating easy DIY Halloween decorations is a wonderful way to make your home festive without spending a lot of money. Simple materials such as paper, cardboard, jars, fabric, pumpkins, and autumn leaves can be transformed into ghosts, bats, lanterns, spider webs, tombstones, and beautiful seasonal centerpieces.
The best part is that decorating doesn’t have to be complicated. Choose a theme, gather materials you already have, involve the family, and create decorations that reflect your personality. Whether you prefer cute pumpkins or a spooky haunted-house atmosphere, a little creativity can make Halloween feel extra special.
Frequently Asked Questions
1. What are the easiest DIY Halloween decorations?
Painted pumpkins, paper bats, floating ghosts, mason jar lanterns, and simple spider webs are among the easiest projects for beginners.
2. What can I use to make cheap Halloween decorations?
You can use cardboard boxes, construction paper, old fabric, glass jars, string, paint, paper bags, leaves, pinecones, and recycled containers.
3. What Halloween decorations can kids make?
Children can help decorate pumpkins, paint jars, create paper bats, make simple ghosts, and arrange autumn leaves. Younger children should be supervised when using scissors or small craft materials.
4. How can I decorate my house for Halloween on a budget?
Focus on a few high-impact areas such as the front door, porch, windows, and dining table. Reuse household materials and create decorations yourself rather than buying everything.
5. How can I make Halloween decorations look more expensive?
Use a consistent color palette, group decorations together, add warm lighting, and combine pumpkins with autumn leaves, candles, and natural textures.
6. Are DIY Halloween decorations safe for children?
Many are, provided children use age-appropriate materials and are supervised. Battery-operated candles and LED lights are safer alternatives to open flames.
7. How early should I start making Halloween decorations?
Starting one to two weeks before Halloween gives you plenty of time to make several decorations without feeling rushed.
8. Can DIY Halloween decorations be reused?
Yes. Paper bats, painted pumpkins, fabric ghosts, lanterns, cardboard decorations, and many other crafts can be carefully stored and reused the following year.