
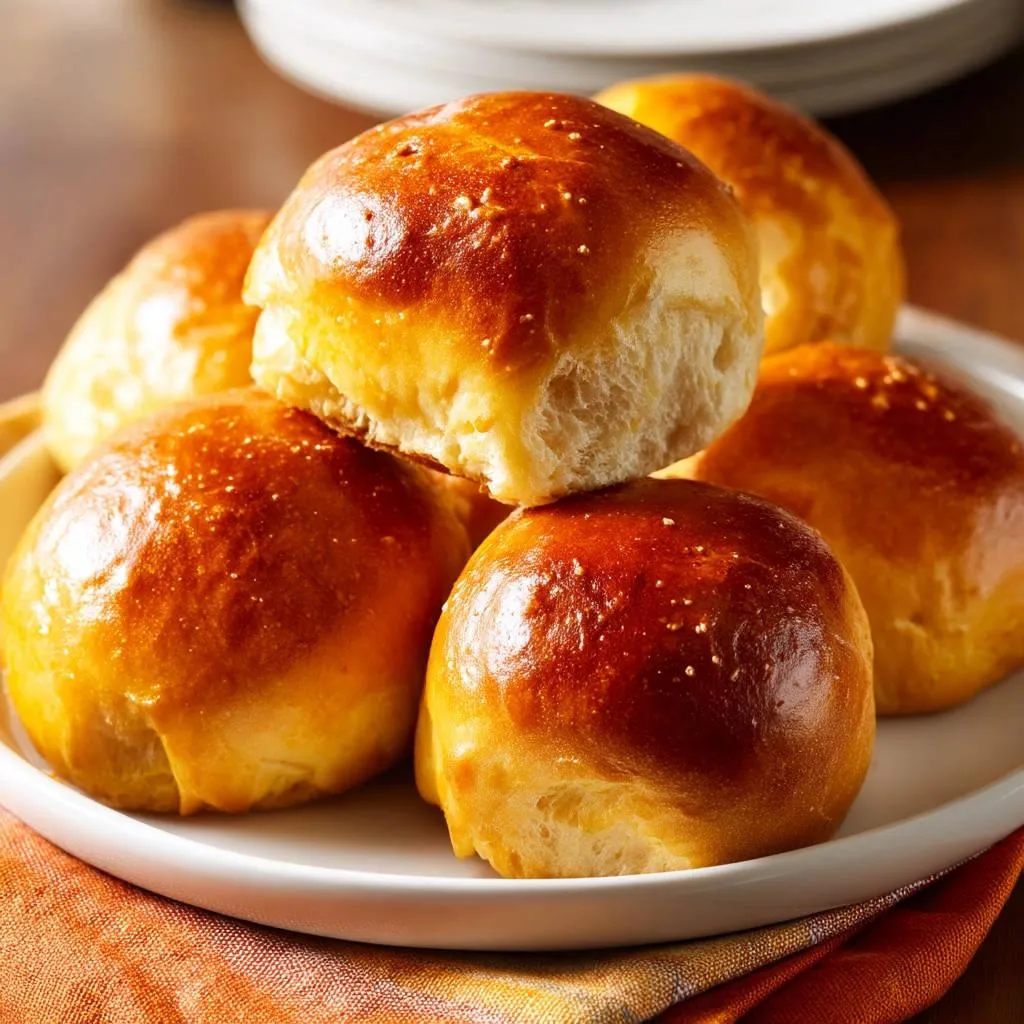
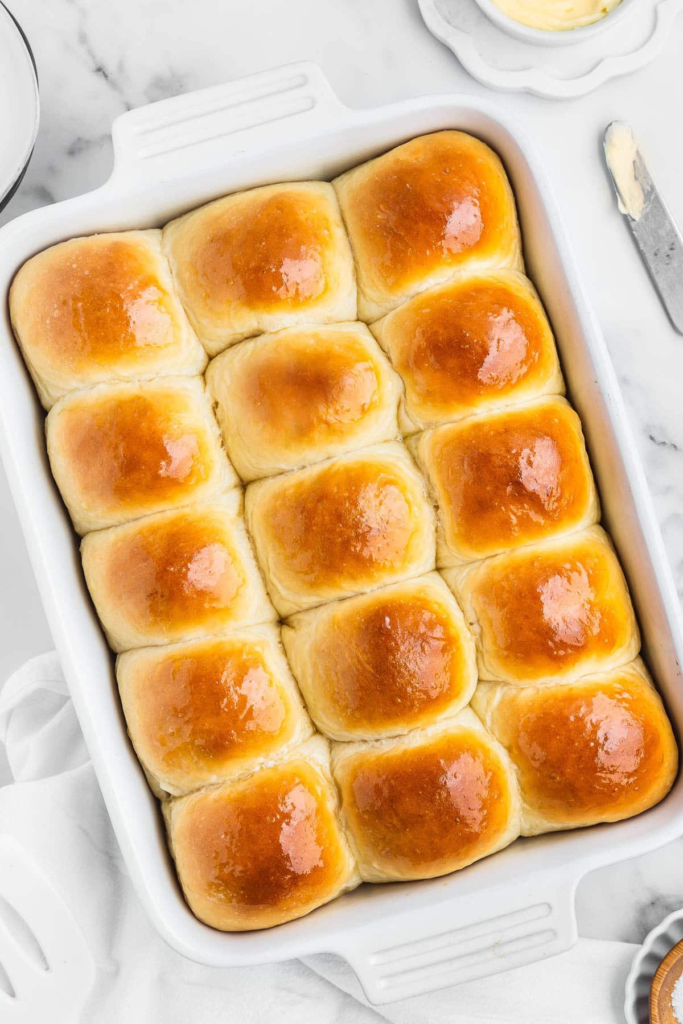
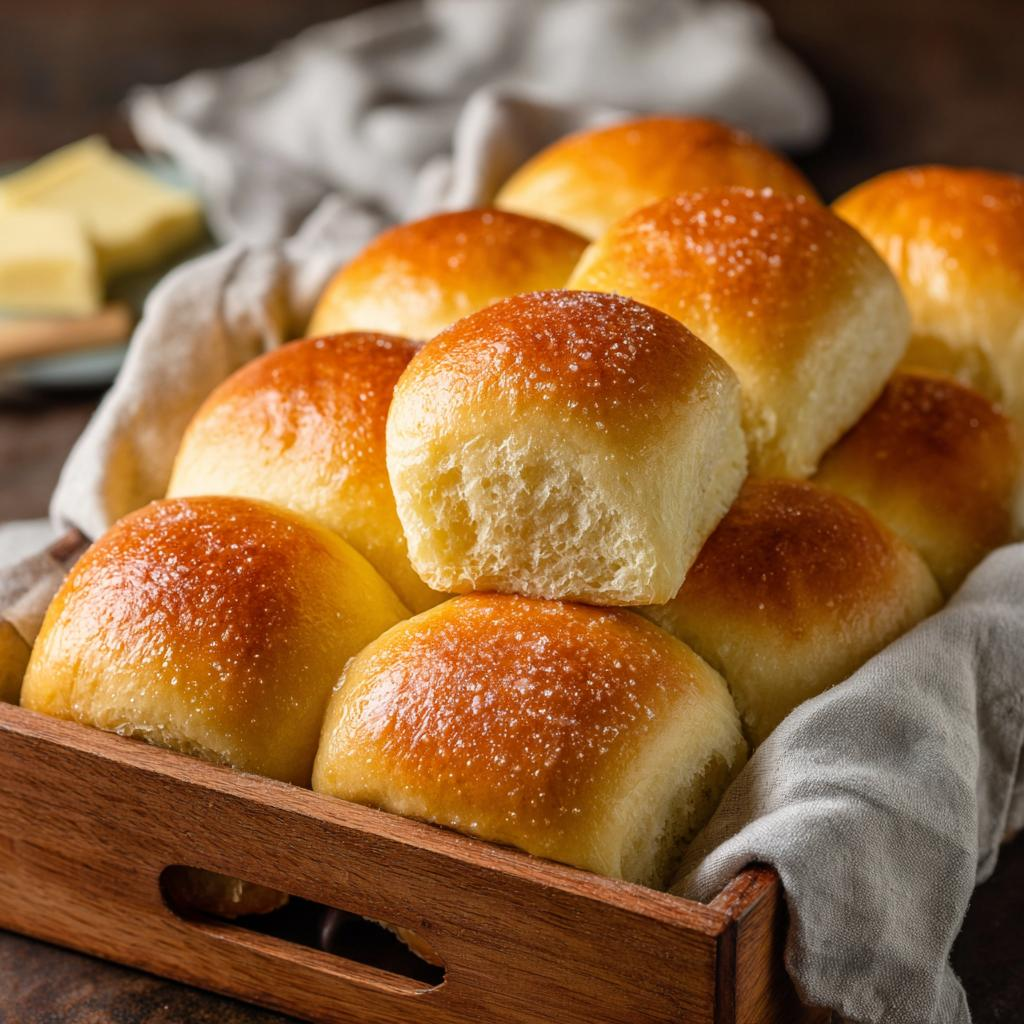
There is something wonderfully comforting about a basket of warm, homemade dinner rolls sitting in the middle of the table. Soft on the inside, golden on the outside, and brushed with melted butter, these Buttery Homemade Dinner Rolls are perfect for family dinners, holiday gatherings, weekend meals, and special occasions.
Unlike store-bought rolls, homemade dinner rolls have a fresh-baked aroma and a tender texture that makes them hard to resist. The dough is simple to prepare with everyday ingredients such as flour, yeast, milk, butter, sugar, and eggs. After a little kneading and rising time, the rolls bake into beautifully golden, fluffy buns.
The best part? You can serve them warm with extra butter, use them alongside soups and curries, or even turn leftovers into delicious sandwiches.
Why You’ll Love These Homemade Dinner Rolls
- Soft, fluffy, and tender inside
- Beautifully golden and buttery outside
- Made with simple pantry ingredients
- Perfect for family dinners and celebrations
- Easy to prepare ahead of time
- Delicious served warm with butter
- Great with soups, pasta, roasted vegetables, and main courses
Ingredients
For the Dough
- 3 ½ cups all-purpose flour
- 1 cup warm milk
- 2 ¼ teaspoons active dry yeast
- 3 tablespoons granulated sugar
- 1 large egg
- 4 tablespoons unsalted butter, melted
- 1 teaspoon salt
For the Topping
- 2 tablespoons melted butter
Step-by-Step Recipe
Step 1: Activate the Yeast
Pour the warm milk into a small bowl. The milk should feel warm but not hot. Add the sugar and active dry yeast.
Stir gently and let the mixture sit for about 5–10 minutes. The yeast should become slightly foamy, which indicates that it is active.
Tip: Milk that is too hot can kill the yeast, so avoid using boiling or very hot milk.
Step 2: Prepare the Dough
In a large mixing bowl, combine the flour and salt.
Add the yeast mixture, egg, and melted butter. Mix everything together until a soft dough begins to form.
If the dough feels extremely sticky, add a little flour, one tablespoon at a time. Avoid adding too much flour because it can make the finished rolls dense.
Step 3: Knead the Dough
Transfer the dough to a lightly floured surface and knead it for approximately 8–10 minutes.
The dough should become smooth, soft, and elastic.
You can also use a stand mixer fitted with a dough hook and knead on low to medium speed until the dough becomes smooth.
Step 4: Let the Dough Rise
Place the dough in a lightly greased bowl. Cover it with a clean kitchen towel or plastic wrap.
Leave it in a warm, draft-free place for approximately 1–1½ hours, or until the dough has roughly doubled in size.
The exact rising time can vary depending on the temperature of your kitchen.
Step 5: Shape the Rolls
Once the dough has doubled, gently press it down to release excess air.
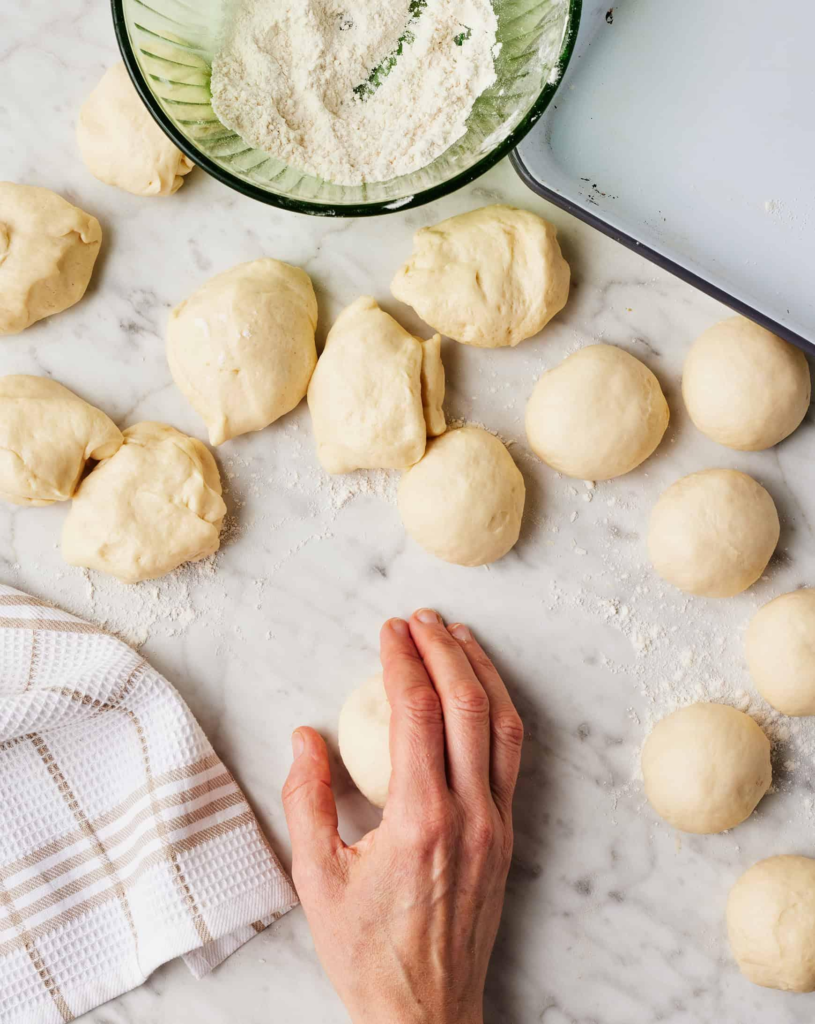
Divide the dough into approximately 12 equal portions.
Shape each portion into a smooth ball by pulling the edges toward the bottom and gently rolling it between your palms.
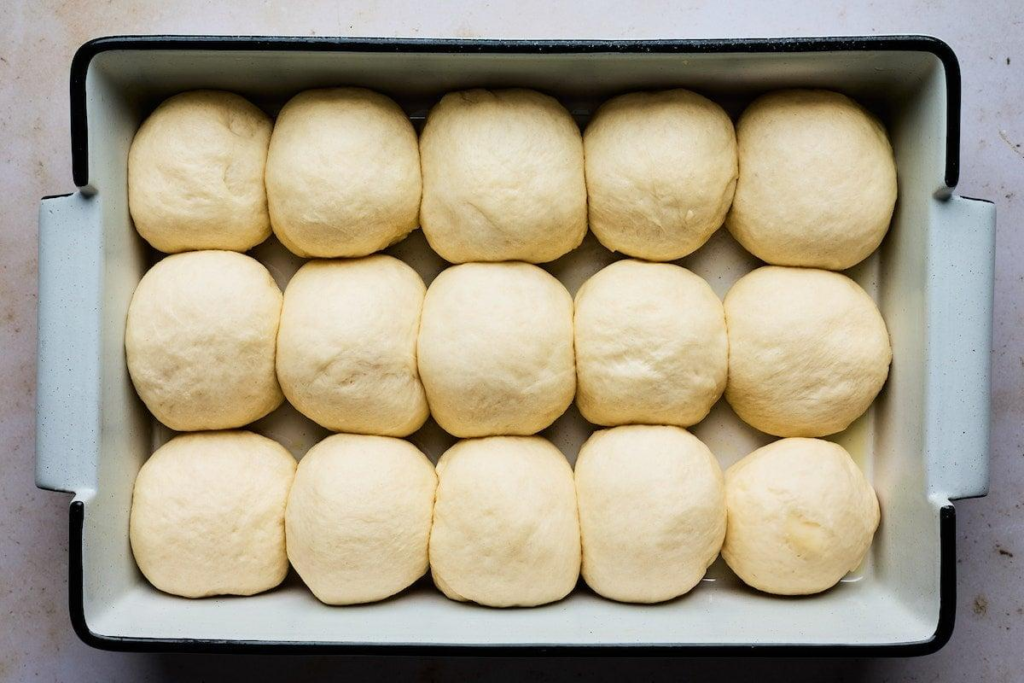
Arrange the dough balls in a lightly greased baking dish, leaving a little space between them.
Step 6: Second Rise
Cover the shaped rolls and let them rise again for approximately 30–45 minutes.
They should become noticeably puffy and soft.
This second rise helps create the light, fluffy texture that makes these dinner rolls so delicious.
Step 7: Bake the Rolls
Preheat your oven to 375°F (190°C).
Bake the rolls for approximately 18–22 minutes, or until the tops are beautifully golden brown.
Keep an eye on them toward the end of baking because oven temperatures can vary.
Step 8: Brush with Butter
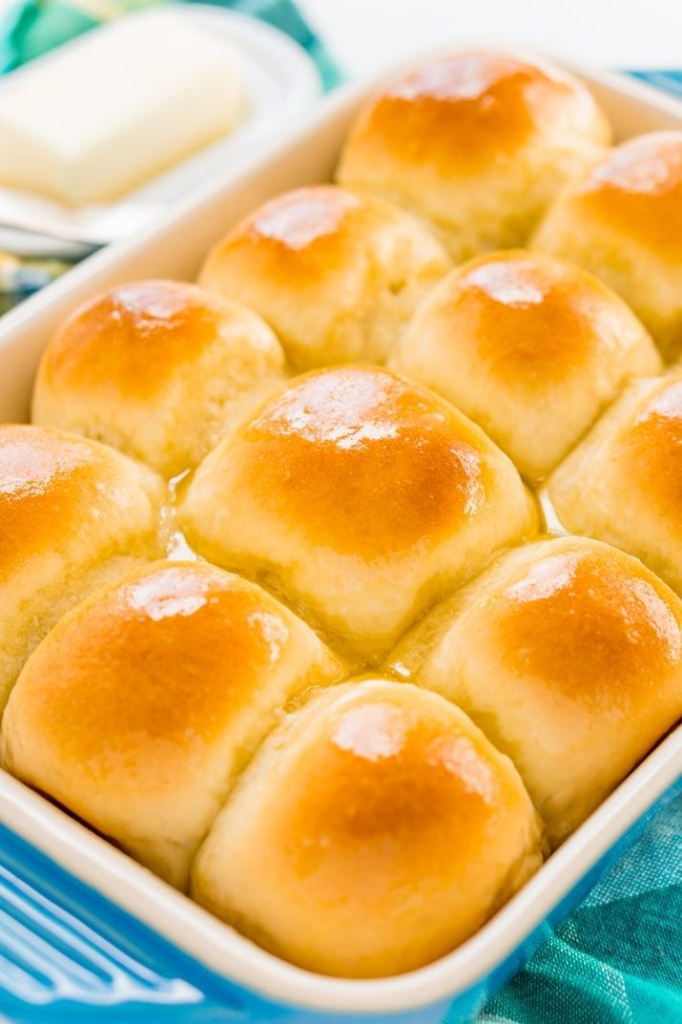
Remove the rolls from the oven and immediately brush the tops generously with melted butter.
Allow them to cool for a few minutes before serving.
For an extra buttery finish, you can brush them with another thin layer of melted butter just before serving.
How to Serve Buttery Dinner Rolls
These homemade rolls are incredibly versatile. Serve them warm alongside:
- Creamy soups and stews
- Pasta dishes
- Roasted vegetables
- Mashed potatoes and gravy
- Baked or roasted chicken
- Holiday dinners
- Salads
- Curries and hearty sauces
You can also slice leftover rolls and fill them with cheese, vegetables, chicken, or your favorite sandwich fillings.
Helpful Tips for Perfect Dinner Rolls
Use Fresh Yeast
Fresh, active yeast is essential for fluffy rolls. If your yeast mixture does not become foamy after several minutes, it may be inactive.
Don’t Add Too Much Flour
A slightly soft dough generally produces softer rolls. Adding excessive flour can make them heavy and dry.
Give the Dough Enough Time to Rise
Don’t rush the rising process. The dough needs enough time to develop air and volume.
Knead Until Smooth
Proper kneading develops the gluten that gives the rolls their soft, stretchy structure.
Don’t Overbake
Overbaking can make dinner rolls dry. Remove them once the tops are golden brown and the centers are fully baked.
Make-Ahead Instructions
You can prepare the dough ahead of time and refrigerate it after the first rise.
When you’re ready to bake, allow the dough to come closer to room temperature, shape the rolls, and give them enough time for the second rise before baking.
You can also freeze baked rolls. Allow them to cool completely, place them in an airtight freezer-safe bag or container, and freeze for up to a few months for best quality.
Storage
Store leftover dinner rolls in an airtight container or sealed bag at room temperature for up to 2–3 days.
To refresh them, warm them briefly in the oven or microwave and brush with a little melted butter.
Conclusion
These Buttery Homemade Dinner Rolls are soft, fluffy, golden, and packed with comforting homemade flavor. Although they require a little patience for the dough to rise, the process is simple and the result is well worth the effort.
Serve them warm with plenty of butter at your next family dinner, holiday celebration, or cozy weekend meal. Once you taste freshly baked rolls straight from your own oven, you may never want to reach for packaged rolls again!
Frequently Asked Questions
1. Can I use instant yeast instead of active dry yeast?
Yes. Instant yeast can generally be used in the same recipe. You can mix it directly with the dry ingredients instead of activating it separately.
2. Why are my dinner rolls not fluffy?
The most common reasons are inactive yeast, adding too much flour, insufficient kneading, or not allowing the dough enough time to rise.
3. Can I make these rolls without eggs?
Yes. The egg contributes richness and tenderness, but the recipe can be adapted without it. You may need to make small adjustments to the liquid depending on the dough consistency.
4. How do I know when the dough has risen enough?
The dough should become approximately twice its original size. A gentle indentation made with your finger should slowly spring back.
5. Can I freeze homemade dinner rolls?
Yes. Cool the baked rolls completely, place them in an airtight freezer-safe container or bag, and freeze them. Thaw and warm before serving.
6. How can I make the rolls extra buttery?
Brush them with melted butter immediately after they come out of the oven. For an even richer finish, add another light coating just before serving.
7. Can I make smaller dinner rolls?
Absolutely. Divide the dough into 16 or even 18 portions instead of 12. Keep in mind that smaller rolls may require slightly less baking time.
8. What is the best way to reheat dinner rolls?
Warm them in a low-temperature oven for a few minutes or microwave them briefly. Covering them loosely while reheating helps prevent them from drying out.
9. Can I use whole-wheat flour?
Yes, but replacing too much all-purpose flour with whole-wheat flour can make the rolls heavier. For softer rolls, start by replacing only part of the all-purpose flour.
10. What makes these rolls buttery and soft?
The combination of milk, butter, egg, proper kneading, and adequate rising time gives these rolls their tender, fluffy texture and rich flavor.



Leave a Reply